Scheduling a Meeting in the Room
Recording a Meeting
Sharing Your Screen
Scheduling a Meeting in the Room
- Open your calendar in Outlook and start creating a new event.
- If you do not already have the Zoom add-in in Outlook, add it.
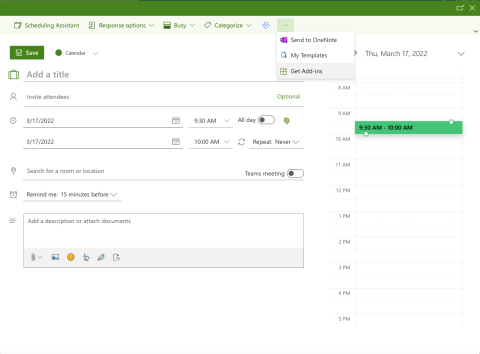
- Click on the "..." at the top of the window to the right of "Categorize".
-
Select "Get Add-ins".
Image
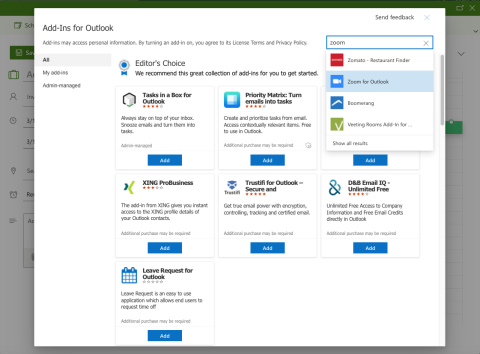
-
Search for Zoom and select "Zoom for Outlook".
Image
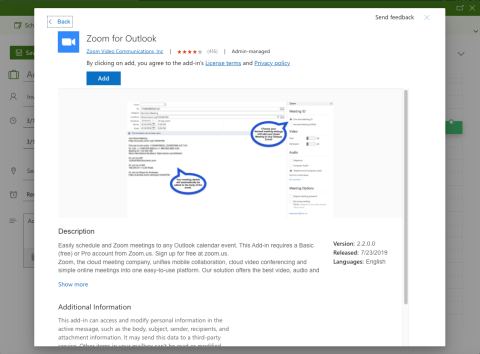
-
Click on "Add".
Image
- Close the Zoom add-on windows to return to your calendar.
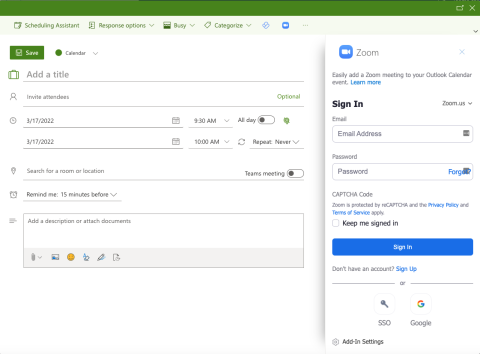
- Click on the Zoom icon and select "Settings" to open Zoom meeting settings.
-
Sign in to Zoom using the "SSO" button at the bottom. Enter psu as the company domain. Follow the prompts to sign in with your PSU account.
Image
- Add "Henderson Bldg 114" as an Attendee AND as a Location.
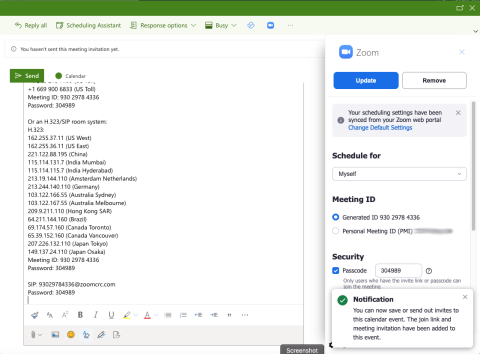
- Click on the Zoom Add-in icon and "Add Zoom Meeting".
Image

- Make sure the Zoom information auto populates in the calendar description.
Image
- Make sure there is a Zoom link in the Location, under the room name.
Image
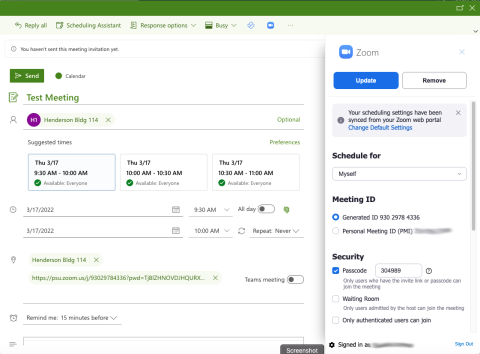
- If either one is missing, click on "Update" in the Zoom meeting window.
- Make sure the Zoom information auto populates in the calendar description.
- Add other meeting details, attendees, etc.
- Click on "Send".
Recording a Meeting
- To have access to a recording after a meeting, you must open the meeting and click on record from your laptop. Otherwise the recording will not have an owner and will not be accessible.
- After the recording is started, you can join the meeting from the Zoom Room's control tablet.
Sharing Your Screen
- Open Zoom on your laptop.
- You do not need to join a meeting.
- Click on the "Share Screen" button.
Image
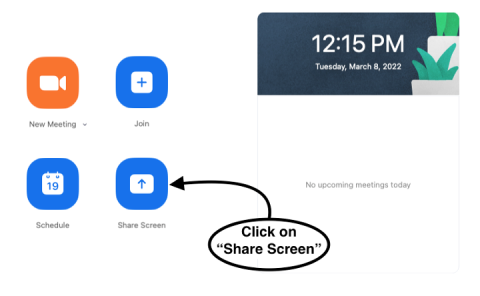
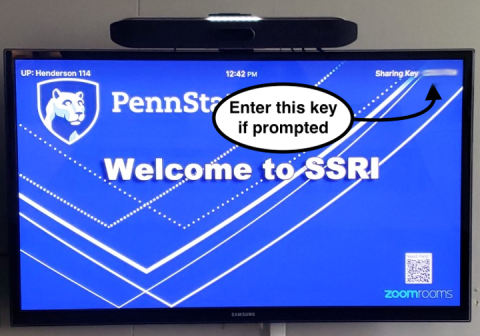
- If prompted, enter the “Sharing Key” located on the top right of the screen you’re trying to connect to.
Image