Note: Penn State licensing is for school or work use only.
If you do not have Adobe Creative Cloud, you may download and install it on your personal computer by following these instructions.
If you are not signed in to Adobe Creative Cloud desktop, follow these instructions.
- Open the Creative Cloud Desktop application.
- Make sure the "Apps" tab and "All apps" is selected at the top (should open to it automatically).
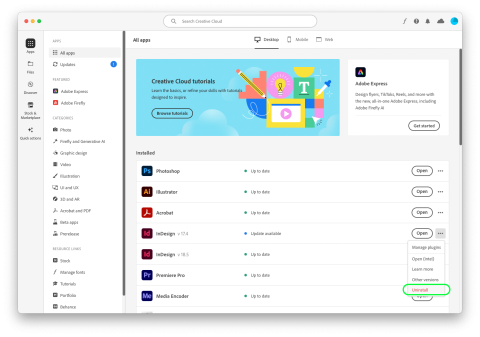
- Scroll down your list of installed Creative Cloud apps and find a duplicate entry. The duplicates will show version numbers and an update available.
Image

- Click on the "..." to the right of any entry with a lower version number to open the options menu.
- Select "Uninstall" from the dropdown menu.
Image
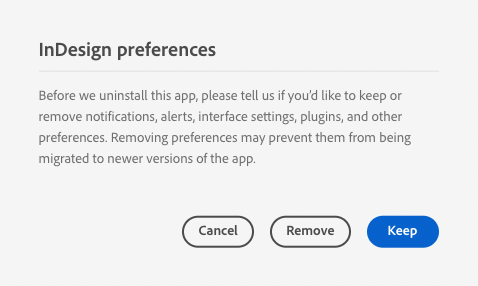
- If prompted about application preferences, you may select either keep or remove.
Image
- Repeat the above steps until all installed applications are listed only once.
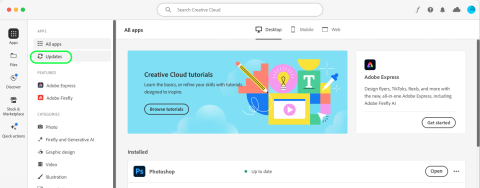
- Click on "Updates" near the upper left corner of the Adobe CC Desktop window.
Image
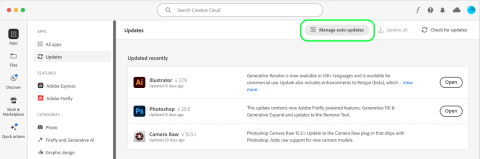
- Click on "Manage auto-updates" at the top.
Image
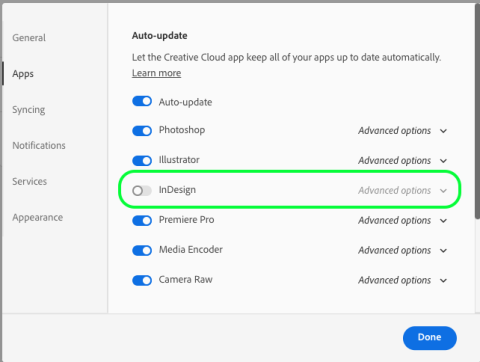
- Click on any applications that have auto-updates off to toggle them on.
Image
- Click on "Advanced options" next to the app. Check the box next to "Remove older versions".
Image
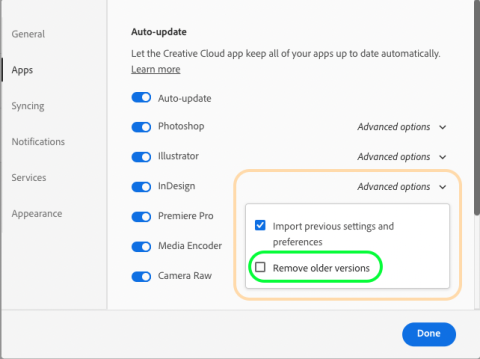
- This will remove all older versions of this app each time it updates to the newest version.
- Repeat these steps for all apps that have auto-updates turned off.